This tutorial is for V1 launched in 2025.
You’ll find the video tutorial link in both your budgeting tracker and the Easy Start PDF.
This budgeting planner is designed with the principles of Zero-Based Budgeting and Envelope Budgeting, popular among users of tools like YNAB.
It offers more control and flexibility, but it may take a little time to get used to.
✨ Don’t worry if it feels complex at first — that’s completely normal. This system is built for deeper financial insight, and once it clicks, you will feel incredibly empowered in your money management. 💪💸
- Setup tab – Getting Started
- 💵 Transactions tab
- 📤 Transfers tab
- 🔍 Transactions (Accounts) tab
- 📊 Spending tab
- 📊 Income vs Expense tab
- 🏠 Dashboard tab
- (Optional) Set Up Transactions Log Google Forms
1. Setup tab – Getting Started
Purpose: Instructions, copyright, and general usage notes.
What to do:
- Read through the welcome message and usage rights.
- Click the link for a full step-by-step tutorial to open this page.
- Follow the 4 steps to set up your budgeting google sheets.
Step 1: Personalize your tracker
- Choose your currency. If you don’t find your currency in the dropdown, you can edit in the grey boxes at the bottom.
- Choose your preferred chart colors.
Step 2: Set Up Income Categories
- Define your income sources under Income Categories.
- Fill in the Monthly Amount to help visualize whether your income can cover your monthly costs (based on the Monthly Targets set in Step 3). This comparison will appear on the Dashboard.
- These income categories allow you to track inflows in the Transactions tab, which will be reflected in the Income vs Expense tab.
Step 3: Budgeting Categories and Targets
💡 Recommended approach: Zero-Based Budgeting — every ringgit must be assigned a job, whether it’s spent, saved, or invested.
- Start by identifying the main budgeting categories. Suggested structure:
- Monthly Bills
- Needs
- Investments
- Wants
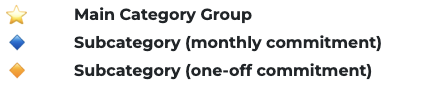
- Add subcategories under each main category. Ensure subcategories are grouped directly below their respective main category.
- There are two types of subcategories to support your budgeting need:
- Monthly Commitment — e.g., bills, meals, transport. You budget for this every month.
- One-Off Commitment — e.g., buying a car, travel. You save up for this over time with a deadline.
- Use the correct icon in the “TYPE” column to categorize:
- What to fill in:
- Only fill in the white cells based on the category type.
- Greyed-out columns are auto-calculated or not applicable to that category, so no input is needed.
- Example categories are provided — feel free to rename or customize them to fit your needs.
- Impact of Due Date data:
- It is used to calculate the monthly target for a one-off commitment.
- It is optional for monthly commitment.
- Categories that have a due date before the current month will be hidden from Dashbord tab.
Step 4: Accounts
Accounts are needed when you log your financial transactions. There are two types of accounts:
- BANK ACCOUNTS / CASH
- CREDIT CARDS
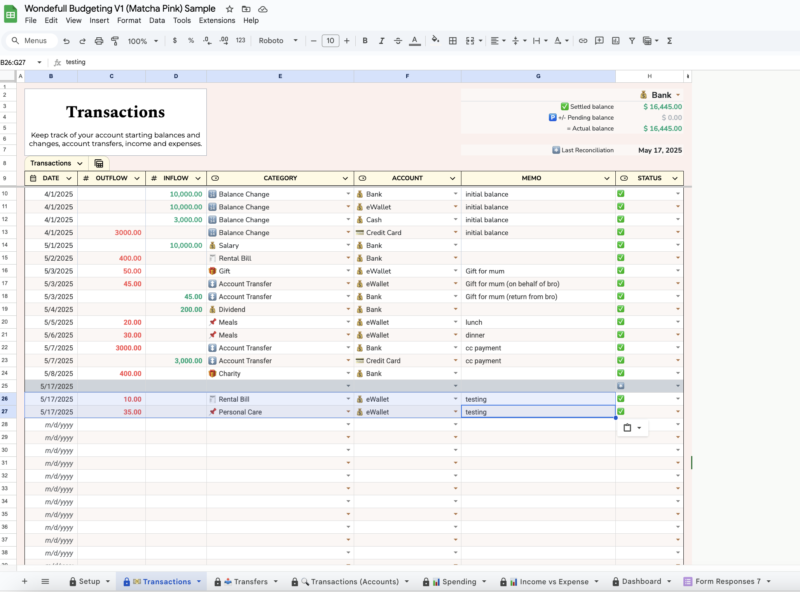
2. 💵 Transactions tab
Purpose: Log all your income and expenses, account balance changes, and account transfers manually.
How to use:
- Enter transactions with the
- Date
- Inflow / Outflow
- Category
- Account
- Status:
- ✅: Settled transactions
- 🅿️: Pending transactions
- *️⃣: Reconciliation date
- This data auto-feeds into reports and dashboards, so it is important to key them correctly.
Examples:
1. Set initial balance for accounts
2. Record expense
3. Record income
4. Transfer between accounts (so that it wouldn’t be tracked as income/expenses)
- This example shows you helping pay on behalf of someone and then having the person return the money to you in another account.
5. Make a credit card payment
6. Reconciliation
3. 📤 Transfers tab
Purpose: Allocate funds between categories or accounts (YNAB-style).
How to use:
- Move money from “Available to Budget” into categories (e.g. rent, food).
- Move money between categories if you want to move excess budget around.
- Use Category Search to check your spending and budgeting progress for specific category.
4. 🔍 Transactions (Accounts) tab
Purpose: Account-level transactions overview.
How to use:
- Adjust the date range in the top-right corner to set the display period.
- Use this tab to cross-check inflows and outflows for each account — including bank accounts, eWallets, and cash.
- Helps you catch missing or miscategorized transactions for a specific account.
5. 📊 Spending tab
Purpose: Breakdown of all expenses by category and month.
How to use:
- Adjust the date range in the top-right corner to set the display period.
- Use this tab to have a visual overview of spending trends.
- Useful to audit high-spend areas.
6. 📊 Income vs Expense tab
Purpose: Monthly overview of total income vs total outflows.
How to use:
- Adjust the period range in the top-right corner to set the display period.
- Adjust the breakdown with 3 options: Categories/ Category Groups/ Accounts
- Use this tab to understand if you’re saving or overspending.
- Great for end-of-month review.
7. 🏠 Dashboard tab
Purpose: Snapshot of your overall financial health.
How to use:
- View your total available budget, overspent categories, and income allocation.
- Quickly see how much is left to budget or if you’ve gone over in any category.
- Helps you make quick, informed adjustments throughout the month.
(Optional) Set Up Transactions Log Google Forms
Purpose: This step is optional. If you’d like to log transactions on the go, setting up this Google Form makes it easier.
How to set up the categories and accounts to be auto-updated based on your budgeting tracker:
Make sure you only have one Google account logged in or you will encounter multiple redirect error. To fix this, log out from all Google accounts, and log in to the account that you have copied the Google Form.
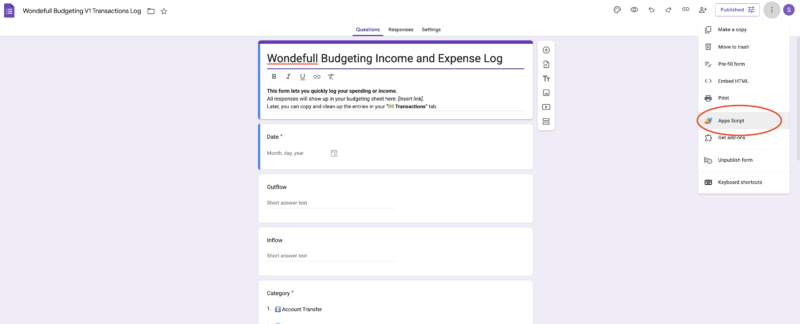
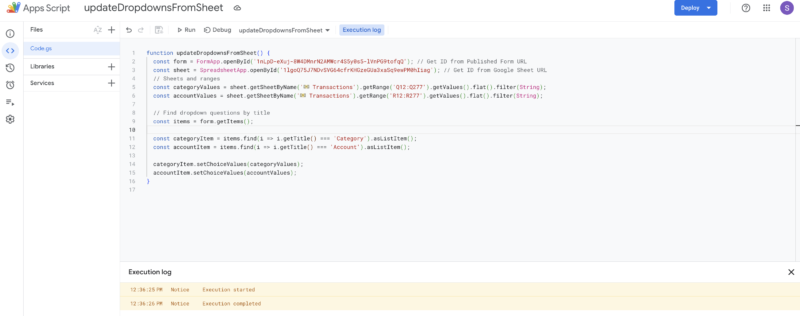
Step 1: Once you make a copy of the Google form. Open the Apps Script editor.
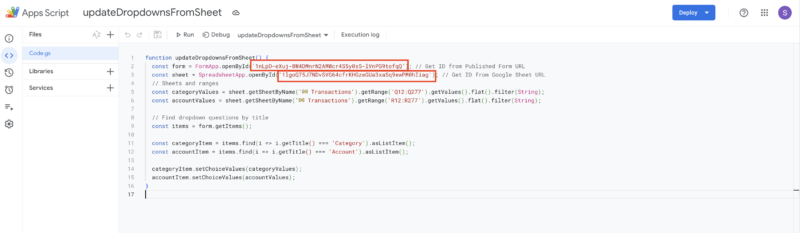
Step 2: Update budgeting tracker sheet and form IDs
Now that you have opened the editor, you have to change 2 IDs, one for your Transactions Log Google Form and Budgeting Tracker Google Sheets. Please get the IDs from the links.

Step 3: Run the updated code
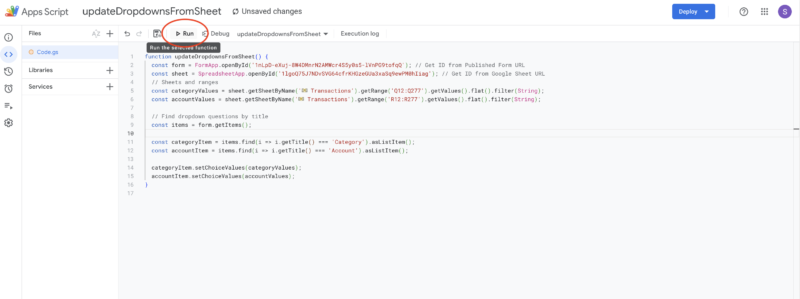
If you run into a permissions issue, follow the steps below and click confirm:

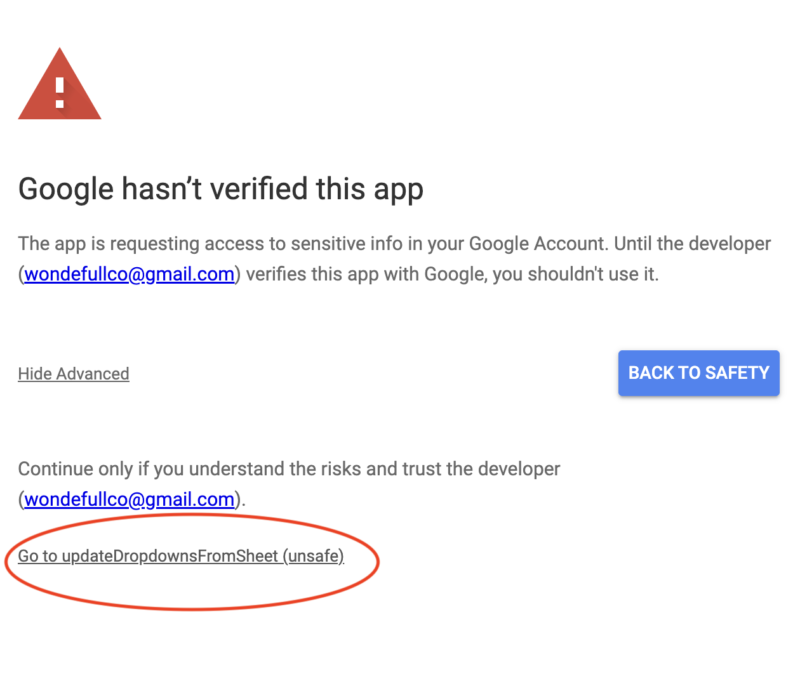

Upon confirmation, the execution will continue and turn successful. Refresh your Google Forms, and you shall see the Categories and Accounts values updated based on your Budgeting Tracker configuration.
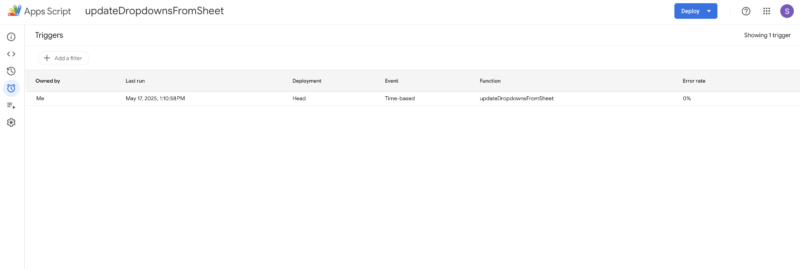
Step 4: Set up a periodic trigger
In this example, I will show how to set up every minute trigger which it will gets the data from your sheets every minute and update the form values. You can change it to other period.


After you save, refresh the page and check if the last run is within last minute with 0% error rate. If yes, then it is working!
Step 4: Link the form responses to your budgeting sheets

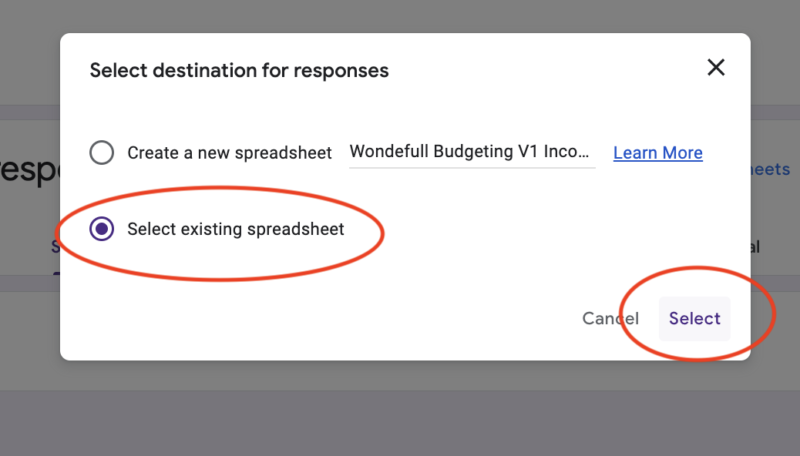
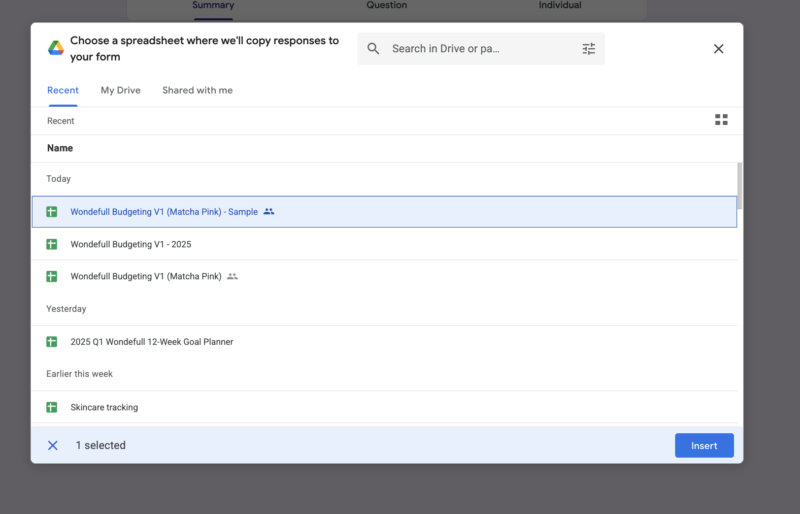
Once you select the sheets, a new tab will appear on your sheets with all responses captured.

You can simply copy and paste the logs to your transactions tab.
🔥 Now that everything is set up, you can start using the Google Form on the go!