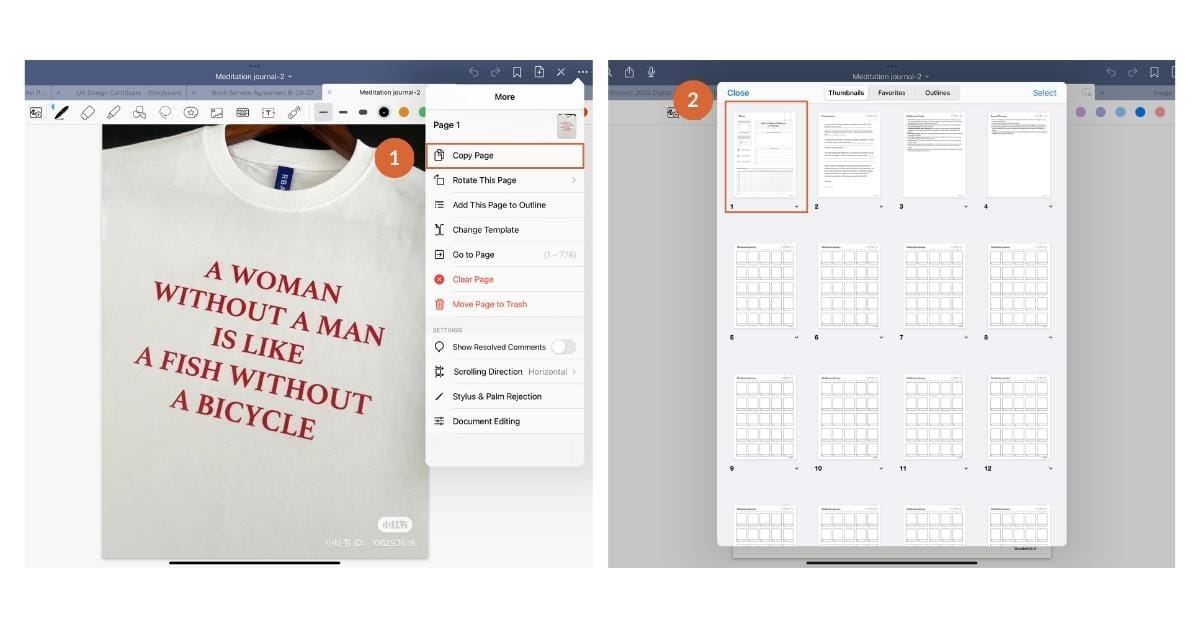
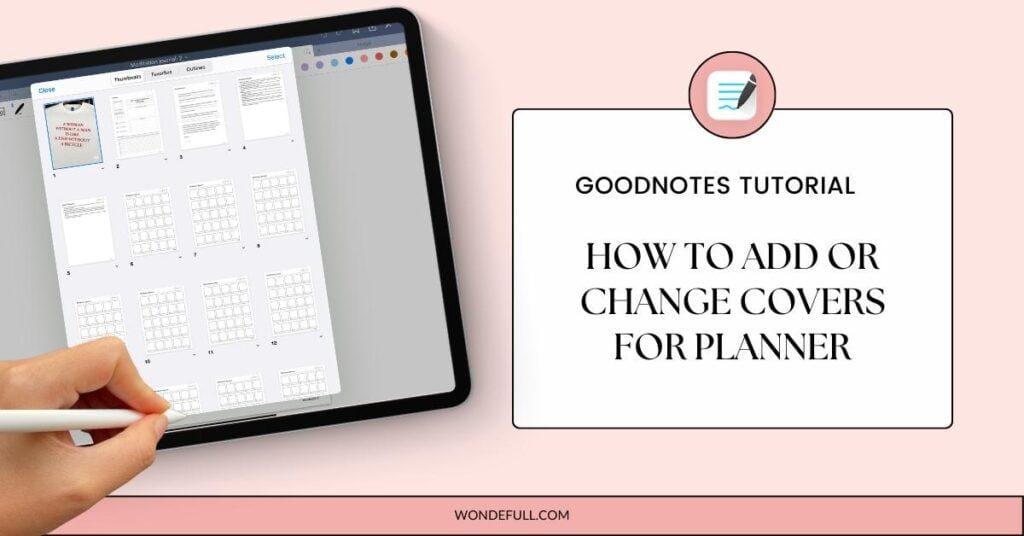
Woohoo~ It’s GoodNotes learning time again! The cover is simply the first page of a notebook, and it is the cover that you see for each notebook at the homepage of GoodNotes. As a digital planner, we always love to customize our notebooks and here’s how you can swap your notebook’s current cover with the one that you had just designed or bought.
Method 1: Add cover by adding page


- Impory your cover files in image or PDF files into Goodnotes
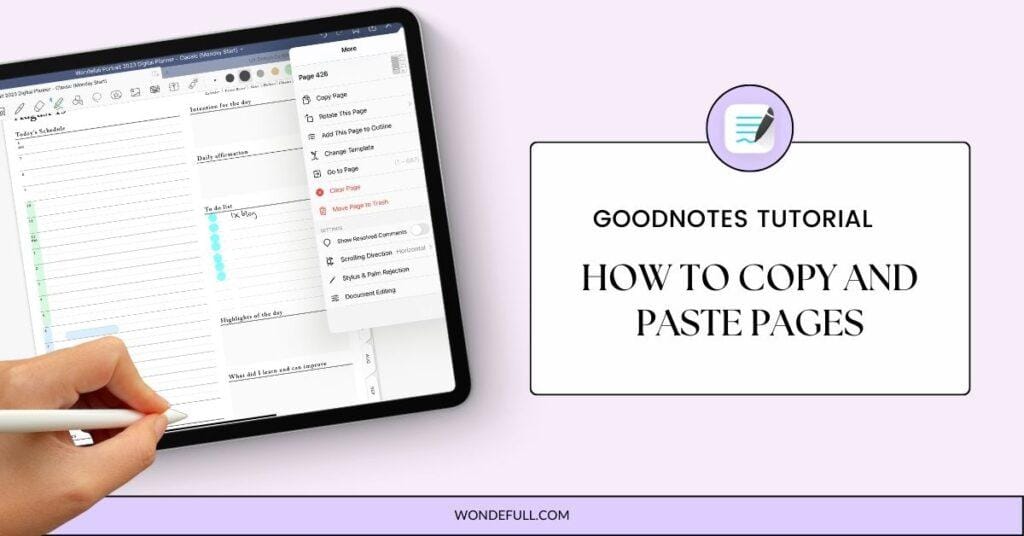
- Once you imported the cover, go to the cover you selected and copy the cover page
- Open the box icon and go to the first page
- Tap on “+” and select “Before”
- Paste the copied cover
- Now you see it as the first page
- The new cover is reflected at the home page!
Method 2: Add cover by adding an image
- Open the first page of your planner
- Tap on “+” and select “Before”
- Select “Image”
- Choose the image you want to use as your cover
- Then you are done!
Want more covers to make your notebooks stand out? You can easily make yours on Canva or buy them from Etsy or Wondefull! We have other digital stationeries available, such as stickers, life planner, and meditation journal.
Like this post? Share it on Pinterest – thank you!


