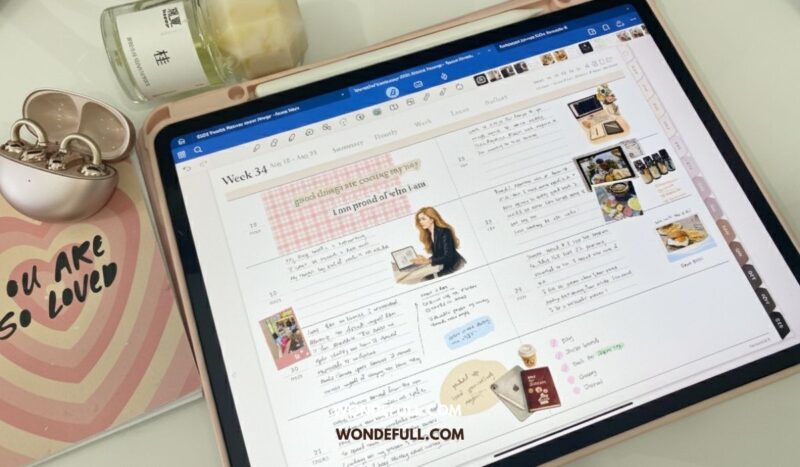
When you see those pretty planner spreads on iPad across Instagram, TikTok, and Pinterest, have you ever wondered how to create them yourself? Don’t fret, it’s actually very easy! With just a few simple steps below, you can craft your iPad planning aesthetic in less than 10 minutes!
Why Aesthetics Matter in Digital Planning
At some point in my digital planning journey, I stopped iPad planning and shifted to Google Sheets and Notion because they were convenient. But I also miss the therapeutic journaling of iPad planning. So, to make the habit stick, I thought of way to make it enjoyable, which is to decorate my planner. And it worked! Now I have beautiful spreads to look forward to.
Aesthetics aren’t just about visual pleasure. When your iPad planning aesthetic resonates with you, planning transforms from a chore into a ritual that you genuinely enjoy.
- Motivation Boost – A beautiful spread makes you want to come back to it daily.
- Consistency – The more visually pleasing your planner looks, the easier it is to build a lasting habit.
- Creativity and Self-Expression – Colours, fonts, and stickers let your planner reflect your personal style, turning productivity into a form of art and creative expression. Keeping your creative juices flowing is crucial to keeping your brain sharp.
- Uplift Your Mood – A beautiful planner spread can light up your mood and bring a positive vibe.
The following is the guide on how to craft your iPad planning aesthetic in simple seven steps. You could skip some of those if you don’t need them.
1. Choose an App and a Planner That Allows Customization
Before decorating your planner, make sure you choose a suitable PDF annotation app and a digital planner.
- Pick a PDF annotation app. As the digital planner is a hyperlinked PDF, you need a PDF annotation app to make edits directly within the digital planner. Put simply, this app allows you to write or type on the digital planner. I’m using Goodnotes and they are currently providing FREE three notebooks for each user.
- Goodnotes 6 ($9.99/yr or $29.99/lifetime)
- It has the biggest active user community, includes many AI features & tools.
- Supports iOS, Mac, Windows, Android, Web
- Noteful ($4.99/lifetime)
- The rising note-taking app, as it is affordable and simple to use. It also has the Layers feature, which other apps don’t.
- Supports iOS
- Noteshelf (Free, $9.99/lifetime)
- Best for students or calligraphers who want access to unique pens. It has non-overwhelming AI features.
- Supports iOS, Mac, Android, Windows
- Zinnia ($3.99/wk, 9.99/month, $39.99/yr)
- Best for junk journaling and scrapbooking. New stickers, themes, and elements are added monthly.
- Supports iOS
- CollaNote (Free, $11.90/lifetime)
- Best for students as it has all essential tools for study, including a flashcard feature.
- Supports iOS, Mac
- Notability (Free, $20/yr, $99/yr)
- A favourite among medical students for its file organization. It also has many AI features.
- Supports iOS, Mac
- Goodnotes 6 ($9.99/yr or $29.99/lifetime)
- Get a digital planner. With a wide array of planners to choose from, it’s essential to select one that aligns with your goals. To begin, I suggest experimenting with a free simple planner which you can easily find on Canva and Google! I’m using a weekly planner because I always plan my life in weeks. Here are seven ways to use a weekly planner.
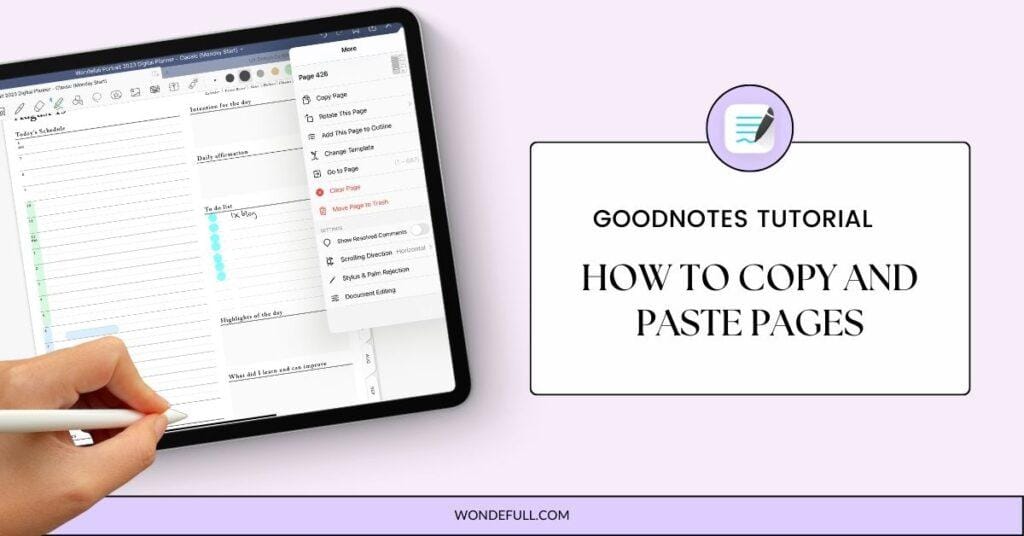
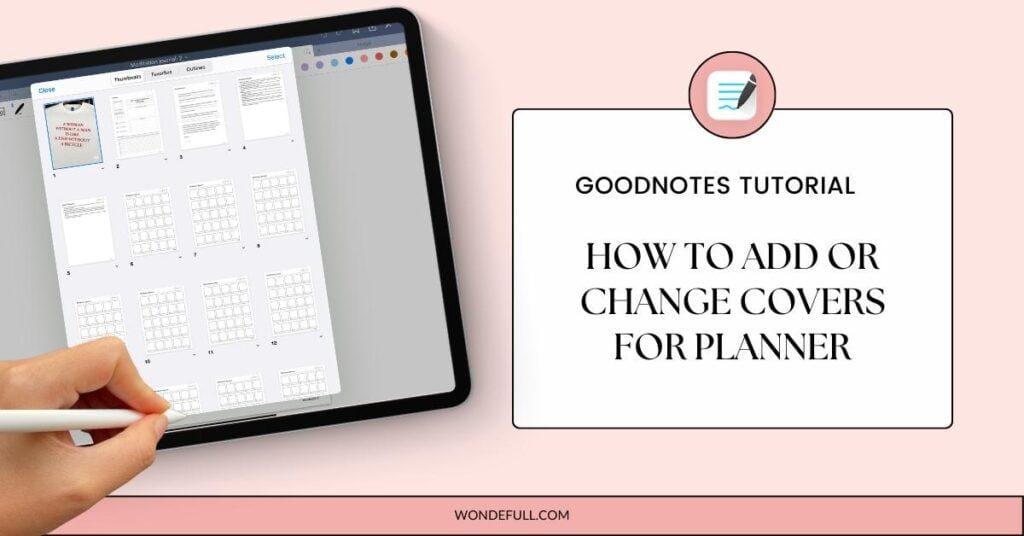
- Import the digital planner and start planning. Here are some tutorials you can check out if you are using Goodnotes.
2. Plan First and Decorate Later
The actual planning is the most important part and should be your first step after opening the planner spread. Before you start picking colors and drawing, just begin by planning out your full day with to-do lists, activities, appointments, etc. If you are journaling, make sure you include all the details and photos if any. Once all the essential contents are in place, you can focus on decorating.
3. Pick Your Colors>Theme
For beginners, choosing colors is usually easier than picking a theme.
When adding colors, pick 1 primary color, and another 2-3 colors to complement the main colors. Remember, the less the better to avoid inconsistent and overwhelming look. Once you find a color you like, you can favourite the color code in your digital planning app. Over time, you will build a color collection that you can reuse.
If you want to make your spread thematic, here are a few popular themes:
- Minimalist – clean lines, muted and earthy tones
- Cozy & Cottagecore – warm neutrals, stickers, soft textures
- Boss Babe / Chic – luxury vibes, gold, bold typography
- Seasonal – spring florals, autumn cozy, winter festive
- Y2K – vibrant, playful colors, glitter, retro digital nostalgia
- Light Academia – soft beiges, cream paper textures, vintage preppy vibes,
- Dark Academia – deep browns, forest greens, moody tones, candlelight aesthetic
- Pastel / Kawaii – soft pinks, lilacs, playful stickers, doodles
- Coquette – pink, girly, vintage core.
- Digital Scrapbook – layered photos, washi tapes, cut-out stickers for a handmade vibe
4. Highlighting and Underlining
Now you can add colors to your planners by adding highlights, shapes, and underlining.
For example, you can categorise the different sections on your spread using different colors. You can also add highlight or underline to header texts or words that you wany to emphasize.
I often use Goodnites highlight to create organic shapes as backgrounds for my texts.

Another favourite functional sticker of mine is transparent color stickers that I can change shapes to do time blocking on my hourly timetable spread.

5. Add Photos and Quotes
Your next step is to add photos and graphics from Pinterest. Take a few minutes to look for relevant graphics and download them. You can look for quotes, items, background graphics, and aesthetic paper textures on Pinterest.
To crop the images you download, you can long press the image and copy the cropped section into your planner. You can also use the freehand crop tool in Goodnotes.
Adding these visual elements is a fun way to add more creativity and personality to your planner spreads!

6. Add Digital Stickers
If you like high-quality graphic elements, try ready-made digital stickers! They come in different themes, designs and styles. You can use them to personalize your planner and make it your own using Goodnotes Elements feature.
If you’re just getting started with digital planning or just want to make things simple, check out our sticker packs! There are affirmation quotes, fashion girls, reading, and functional stickers that allow you to experiment and decorate your planner.

7. Have Fun with Creative Apps
For those who want more ways to express their creativity, try apps like Procreate, Canva, and Dazz Cam.
Procreate is a drawing app which you can make your own stickers, edit graphics, and create calligraphy. $12.99 for a lifetime purchase is really affordable considering the functionalities.
Canva is a common graphic design tool that has an easy drag-and-drop tool for creating planner templates, covers, and sticker sheets. It supports both the iPad app and the web. The free version is sufficient if you’re trying out, you can consider the Pro version to unlock more fonts, templates, and graphic options.
For those who like photography, check out Dazz Cam for quality, vintage camera like filters. These can help enhance the aesthtic and vibe of your digital planner spread!
Where to Find Inspiration
Pinterest, Instagram, and Etsy are some of the best places for aesthetic inspiration. Pinterest is the easiest for quick searches with keywords, while Instagram may take more time to discover curated accounts. Etsy, on the other hand, is filled with digital planner creators and sticker sellers, making it simple to find ready-made themes and digital planning supplies. I’m on Etsy as well!
Here are some search keywords you can use:
- Plan with me
- Ipad planning ideas
- Ipad planing aesthetic
- Digital scrapbook
- Digital planning stickers
- Aesthetic planner layouts
- iPad journaling ideas
- Cute iPad digital planning
Conclusion
Lastly, don’t be afraid to experiment or make mistakes. Remember, one of the best parts about digital planning is that you can always change what you don’t like. Over time, you’ll get better at this, and planning out your day or week will take only a few minutes!
Like this post? Share it on Pinterest – thank you!